Enabling HailTrace
- Click on your profile icon or initials in the top right corner.
- Select Settings from the drop-down menu.
- From the Integrations settings menu on the left, select the API option.
- Select New API Key.
- Under the "Description" column, type HailTrace into the field.
- From the Access Profile drop-down menu, select a profile that has Settings access.
- Select Save.

- To the right of the newly created API key, select Copy
- Log in to your HailTrace account.
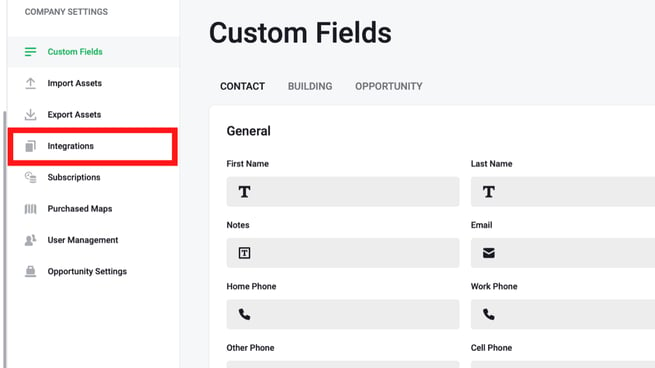
- Proceed to your HailTrace Settings by selecting Settings in the left-hand navigation menu.
-1.png?width=655&height=369&name=unnamed%20(1)-1.png)
- Select Integrations.
- Paste the API key from JobNimbus into the field.
.png?width=655&height=369&name=browser%20app_%20Set%20Up%20Job%20Nimbus%20Integrations%20(2).png)
- Click Save.
.png?width=655&height=369&name=browser%20app_%20Set%20Up%20Job%20Nimbus%20Integrations%20(3).png)
Congratulations! The HailTrace and JobNimbus integration is now live.