How Do I Link My QXO Templates With JobNimbus?
Learn how to add your QXO Templates to your JobNimbus Legacy financials.
This article details how to use QXO in the Legacy Sales experience. For steps to use QXO in the New Sales Experience, click here.
On This Page
When you import your QXO Templates into JobNimbus, they will be available in JobNimbus to use for your Estimates and Material Orders.
Creating Templates in QXO
- Log in to QXO.
- Select the Templates tab.

- You will see any existing QXO PRO+ Templates here:

If you don't have any Templates in your QXO account, you can create new ones:
- Select the New Template button.
- Name the Template.
- Select Create.
- Select the Job Account you would like to assign the template to.
- Select Add Product.
- Select the Product you want to add to your template and the Product variation option.
- Click on Select Product in the top right corner.
Importing Your QXO Templates into JobNimbus
- Log into your JobNimbus account.
- Click on your profile icon or initials in the top right corner.
- Select Settings from the dropdown menu.
- Within the left-hand Settings menu, open the QXO tab.
- Select Import QXO Pro + Templates.
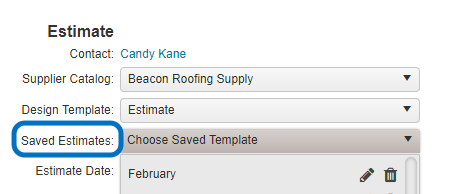
- Create a Material Order or Estimate to see the available Templates

If you already have Saved Estimate or Material Order Templates in JobNimbus, you can select Link with supplier on each JobNimbus product inside the Template to link it with a QXO product.