On This Page
Note: To add a new agent, go to the Marketing Hub, select Agents, and click the New button in the top right corner. Please note that adding a new agent will incur a charge based on the pricing structure below:
- 1 agent included
- 2–5 additional agents: $298.00 per agent
- 6–10 additional agents: $260.00 per agent
- 11–25 additional agents: $230.00 per agent
Charges apply immediately upon adding an agent.
To manage your JobNimbus AssistAI Agent, select the Agent under the Agents heading on the left-side menu. This will take you to your inbox.

Inbox
Your Inbox will show a list of all conversations your JobNimbus AssistAI Agent has had. Clicking on a conversation will give you a summary of the recording it had with each contact.

You can block a contact by clicking on the three dots in the top right and selecting Block Sender. Additionally, you can move the conversation to Junk or Delete the Conversation.

Note: The JobNimbus AssistAI has a built-in Junk Filter. After the call has ended, the system determines if a call is junk based on the content provided.
By default, a call is considered junk if it fits into one of the categories below:
Solicitations, spam, scams, all political calls, calls about tax debt, calls about crypto, cold calls, sales, telemarketers, recruiters, bill or debt collectors, and solicitations should be marked as junk.
Integrations
Clicking on the three-dot menu, you can connect accounts for Google Calendar, Zapier, and JobNimbus.

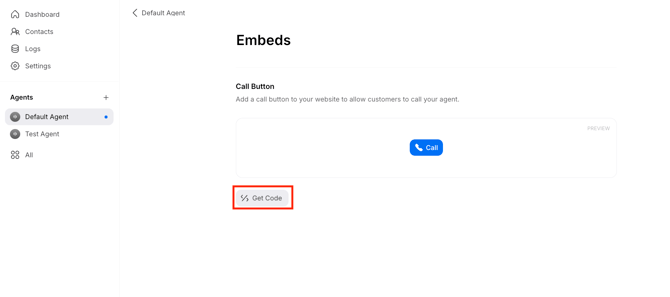
Embeds
Here you can get the embed code to add a call button to your website, allowing your customer to call your agent immediately.

Click on Get Code at the bottom to copy the code you'll need to add to your website.

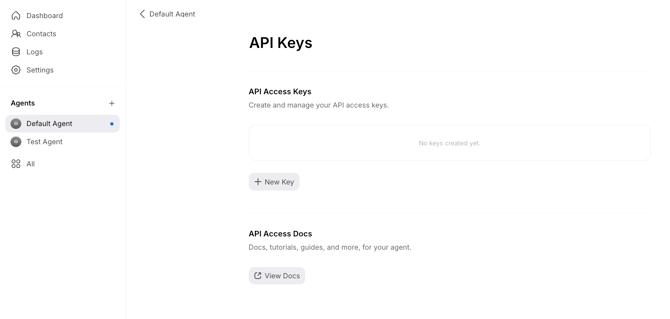
API Keys
Here you can create and manage your API Access tokens as well as get documentation, tutorials, and guides for your agent.

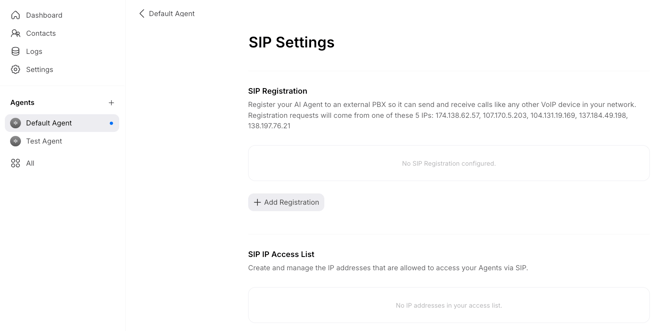
SIP
Here you can manage your SIP (Systematic Investment Plan). The SIP is responsible for setting up, managing, and ending communication sessions, including voice calls, video conferences, and instant messaging.

Editing Agent
Clicking Edit on the top right will pull up a new window for you to modify the aspects of your agent that you created during setup. This includes the Agent's voice, what the agent says when it answers a call, as well as the questions it asks the caller. Be sure to click Save in the top right of the window after making changes.


To add or change an email address or phone number in your Notification Settings, click on this link to learn more.
Testing Agent
To test your Agent, click on Test on the top right side. A new window will appear, prompting you to dial the agent and test it out.


Forwarding
Here, you can set up your Agent to be forwarded to your phone system. This should have been completed during onboarding with JobNimbus Marketing.

