On This Page
Setting Up Your AssistAI Agent
Here, you’ll be able to set up your JobNimbus AssistAI Agent for your business. To begin, click the Marketing tab on your navigation.
Next, select AssistAI, and you will be prompted to set it up.

Choose Template to get started.

Next, select between Appointment Scheduler and Message Taker.
Appointment Scheduler will schedule appointments for your business.
Message Taker can answer questions and take messages for you.

Appointment Scheduler
When selecting the Appointment Scheduler, you’ll want to set up your hours of operation first. An example is “Monday-Friday 9am-6pm.”

Next, enter the message or instructions that should be given to the caller after they are done scheduling. This could be something like, “Please keep all pets inside at the time of your appointment.”
-png.png?width=407&height=464&name=unnamed%20(1)-png.png)
Message Taker
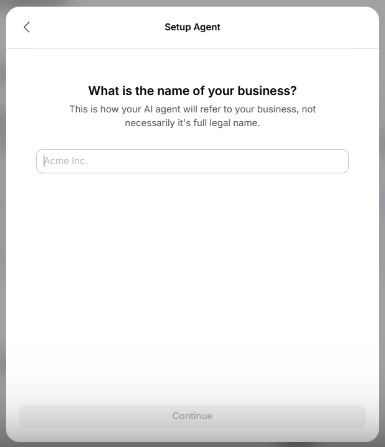
Selecting Message Taker, you will be asked to enter the name of your company and your company’s website.

Next, enter what the agent should say when answering the call. It is best practice to announce to the company that the customer has called and let them know that they are speaking with an interactive agent.

On the next page, enter the information you’d like the interactive agent to collect.

Additionally, you can add any other additional information you’d like the interactive agent to know that is not on your website.

Enter the notification email address or phone number. If you have more than one email address you’d like to notify, separate them by a comma. These email addresses or phone numbers will receive a full call transcript and a link to the recording.

Note: To change from Message Taker to Appointment Setter (or vice versa), please follow these steps:
- Go to the Marketing Hub.
- Navigate to Agents.
- Click the three dots next to the agent you wish to edit.
- Select a Template from the pop-up.
- Choose the desired template (e.g., Appointment Setter or Message Taker).
By changing your template, any customizations you've made will be lost.
Enable Transfers
You’ll have the option to enable transfers. This will allow you to send calls to specified numbers depending on how the customer answers the calls. If you would like the interactive agent to transfer calls, select Yes.

Next, set up transfer conditions by typing in the text box. You can tell the interactive agent to transfer if the existing customer is calling about a project, has questions about billing, and many other things.

Next, let the agent know what numbers they can transfer to.

Once you have completed this section, you will be asked to connect the interactive agent to JobNimbus. Click on the Connect button and enter the API Key created in JobNimbus.

API Integration and Final Setup
If you need help creating an API Key, please refer to this article. It is best to do this in a separate tab, as you will have to come back and enter it to finish the setup.
Once you have created the API key, head back to connect the JobNimbus AssistAI.


- Enter your API Key.
- Select a Contact Workflow here. This will typically be Customer.
- Choose the status of the Contact Workflow. New is usually the best option to select in this case.
- Select a Job Workflow. This will allow the system to put a new Job into a pipeline, which will then allow it to show on the corresponding Board.
- The Workflow Status is where you choose the column on the board you'd like the lead to go.
- Select your Lead Source here. You can go into the JobNimbus settings and create a new status specifically for the JobNimbus AssistAI Agent if you'd like.
- If a task is created, select the task type you would like it to be.
- You can go into the JobNimbus settings and create a specified Task Type for the JobNimbus AI Answering Service.
- Here, you can assign a location for Tasks, Jobs, etc.
- Select the user(s) you would like to assign Tasks. You can select from the list of team members in your organization or a team account.
- Multiple people can be selected.