How Do I Use the Forms Feature?
Create checklists to follow when you or your team members arrive at a job site.
Creating Forms
- Login to your JobNimbus account through your web browser.
- Click on your profile icon or initials in the top right corner.
- Select Settings from the dropdown menu.
- From the Settings menu, select the Templates tab, then select the Forms option.

- Click the blue + Create Form button.

- This will pull up the Form Details, where you will add action items to be completed:

- Give your Form a unique name. Remember that each Form must have a unique name.
- Learn about managing your Forms for more information.
- If needed, further describe the Form's purpose.
- Designate a type of response from a dropdown menu.
- The options include:
- Checklist: Allows your team member to choose an answer from a set of options.
- Date: Allows your team member to type a date or choose a date from a calendar.
- Dropdown: Allows your team member to choose an answer from a dropdown list of options. This can help keep your form organized if you have several options to choose from.
- Multiple choice: Allows your team member to choose multiple answers from a set of options.
- Number: Allows your team member to type a whole number into a field.
- Paragraph: Allows your team member to type a long answer into a text field.
- Photo: Allows your team member to upload a photo to the form.
Any photo taken while filling out the form will be added to the associated Contact or Job's file. - Short answer: Allows your team member to type a short answer into a text field.
- The options include:
- Title the step or action item.
- If needed, add a description of that action.
- Toggle the switch to make that item required.
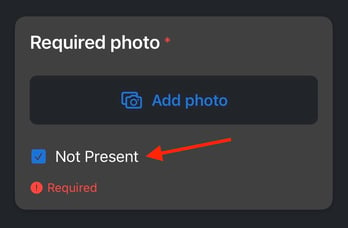
- Note: If a photo-type item is marked as required, an option to skip the question (by checking a box next to the words "Not Present") will be available when completing the Form in the mobile app.

- Note: If a photo-type item is marked as required, an option to skip the question (by checking a box next to the words "Not Present") will be available when completing the Form in the mobile app.
- Duplicate the individual section.
- This will create an identical action item within that Form.
- Delete the step to remove it from the list of items.
- Add a new section or step.
Once you've finished, click on the blue Save Form button at the top right.

Download Form Responses
- Click the Forms tab on a Contact or Job and select either the Form number or the three dots to View the completed Form.

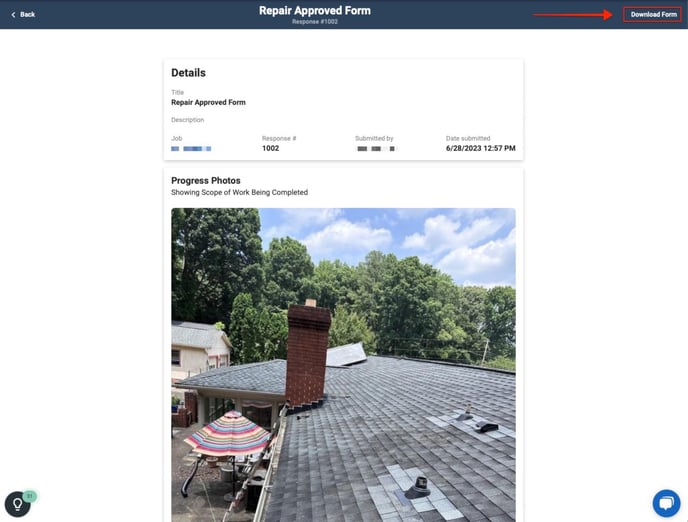
- Download the completed Form by clicking Download Form in the upper right hand corner.

Note: Once they have been submitted, Forms cannot be deleted.
Forms can only be completed through the Mobile App. Check out the following articles to learn more: