How Do I Use the mySalesman Integration?
Learn how to use mySalesman within your JobNimbus app.
Prior to using, you will need to enable the integration by following the steps outlined in this article.
In Your mySalesman Account
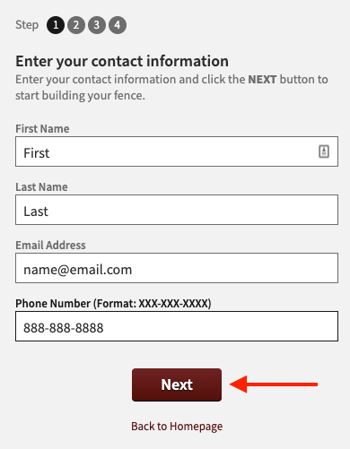
- Enter the contact information of the customer and click Next.

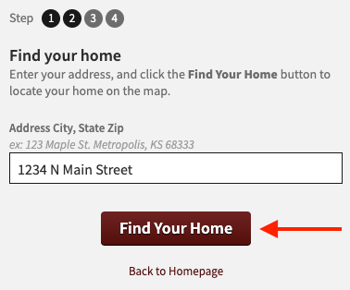
- Enter the homeowner's address and click the Find Your Home button to locate the home on the map.

- Follow the prompt given in the message and click on one of the buttons to move forward.
.png?width=350&height=336&name=unnamed%20(2).png)
- Trace a fence using your cursor, add gates if needed, and then select Next.
- Design your fence with the given type, style, color, and height options, then click Next.
- Review the estimated price, make any necessary edits to the design, then click Next.

- Once the document is completed, it will appear under the associated Contact's record in JobNimbus.
In Your JobNimbus Account
A new Contact will be created (even if one with the same name already exists in JobNimbus) with the information you filled out at the beginning of the process in mySalesman.
- Navigate to the newly created Contact's record.
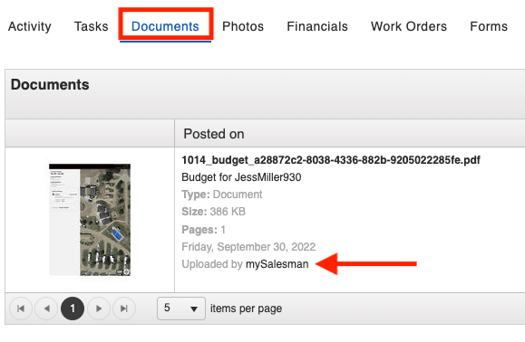
- Select the Documents tab.
- Review the PDF that has come over from mySalesman

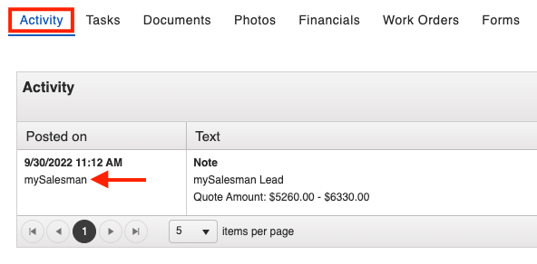
- You will also see the details logged under the Activity tab

Note: In order for the Integration to work properly, make sure you create a custom Lead Source for mySalesman in JobNimbus in Settings.