How Do I Use the RoofScope Integration?
A step-by-step guide on using the RoofScope integration with JobNimbus.
Note: Make certain that you can set up your RoofScope integration before attempting to follow these steps. If you have not set up your RoofScope integration with JobNimbus, follow the steps in this article.
Using the RoofScope Integration
- Log in to your RoofScope account.
- From the RoofScope main page, start an order for a JobNimbus Contact by searching for the Contact's address.

- Confirm the location.

- Select the property type for the location.

- Select the type of report you would like to generate.

- Review your order to confirm the details, add any additional property information in the Additional property info section.

- Scroll down to the bottom of the page to the JobNimbus section and select whether you would like to import the report to a Job or Contact, then select the Job or Contact you want to import the report to from the dropdown.

- Scroll back up to the Review Order section and select Add to Cart.

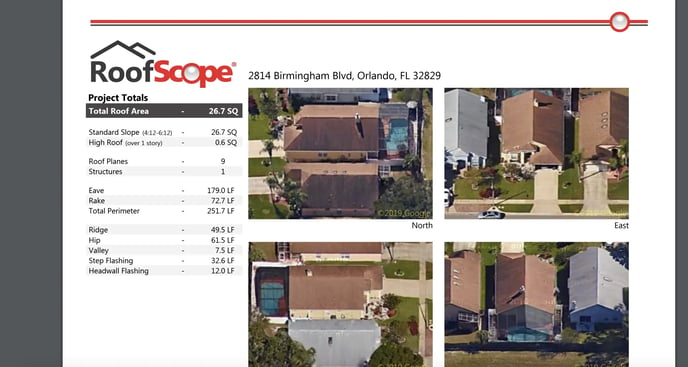
- Once the order has been completed, you will receive a confirmation email and the URL to retrieve a copy of the report PDF will be logged in the associated Job or Contact's Activity Feed.

