Sales Rep Mapping:
To map sales reps you need to create them in QuickBooks and JobNimbus. It is best to map the same name to avoid confusion, although you can map to different people or names if needed. If a rep is assigned to a record in either JobNimbus or QuickBooks, and that rep is not mapped, the record will not be able to sync.
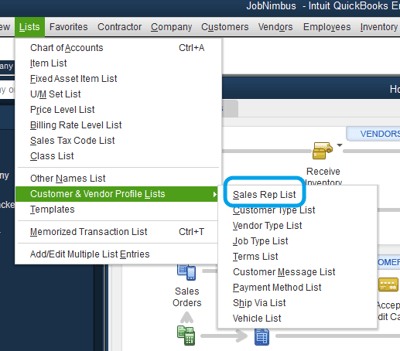
Step 1 - Create a sales rep in QuickBooks if needed.
-
Lists
-
Customer and Vendor Profile Lists
-
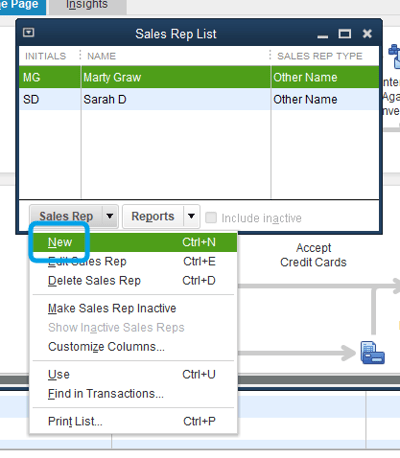
Sales Rep List
-
New
Step 2: In JobNimbus, navigate to the QuickBooks settings page, select "Refresh QuickBooks Lists" in Advanced Options at the bottom of the screen:

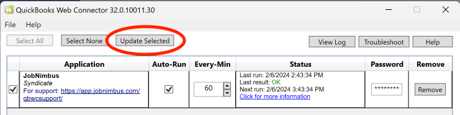
Step 3: Select "Update Selected" on the Web Connector
Update Selected is a forced manual sync. Be sure the box is checked to the left of the JobNimbus Application.

Step 4: Reload your browser and map out your sales rep
Go back to JobNimbus-->Settings--> QuickBooks
-
If this is the first time syncing sales reps: Select Show Sync Details and enable Sales Rep Mapping
-
If Sales Rep Mapping is already enabled: Select Show Mapping
-
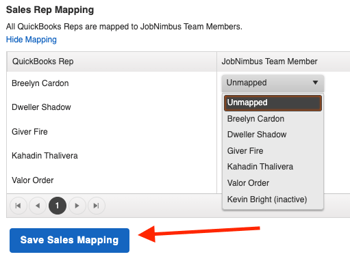
Select the Dropdown under JobNimbus Team Member. Map the sales rep in QuickBooks to the Sales Rep in JobNimbus
-
Select Save Sales Mapping
1) What if I have an old sales rep in QuickBooks I want to map out?
On the sales rep mapping it will only allow you to map to a sales rep that is in JobNimbus.
Option 1: Map the old rep to a new rep (you will want to avoid mapping multiple QuickBooks reps to a single rep in JobNimbus)
Option 2: Edit the sales rep on the record that needs to sync to a current sales rep.
Option 3:
-
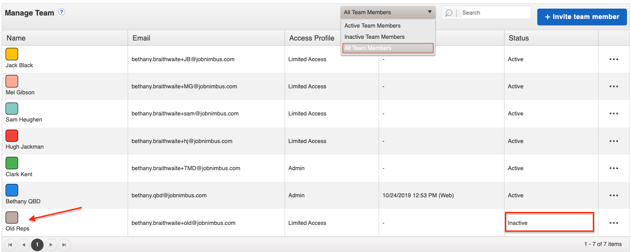
Go to settings and select the Team tab.
-
Make one of your team members inactive temporarily (if you don't do this you will be charged for a new team member).
-
Then add a new team member with the old rep's name or simply choose “old reps”. Input a personal email/fake email for the email address. Make the rep inactive by selecting the ellipses for that rep and deactivate that profile. Make your team member active again that was temporarily disabled. Select the dropdown in the middle of the page to see active/inactive team member.
-
Then follow the above steps for mapping.
Be sure not to exceed the number of paid seats when doing this process.
-
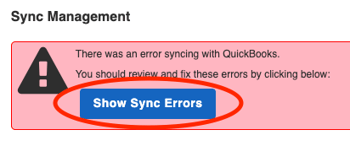
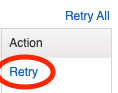
In your QuickBooks settings in JobNimbus go to the error log and select the blue "retry" action for the contact/job that has the error JobNimbus Sales Rep 'XYZ' is not linked in QuickBooks.
-
Go to the web connector in QuickBooks and select "Update Selected". This should force the program to recognize the new changes.