![JN_Logo_Long-White@1x.png]](https://support.jobnimbus.com/hs-fs/hubfs/JN_Logo_Long-White@1x.png?height=40&name=JN_Logo_Long-White@1x.png)
Add Classes to QuickBooks:
- Login to QuickBooks Online
- Navigate to the gear icon in the top right corner
- Under "Lists" select All Lists
- Click into the "Classes" section
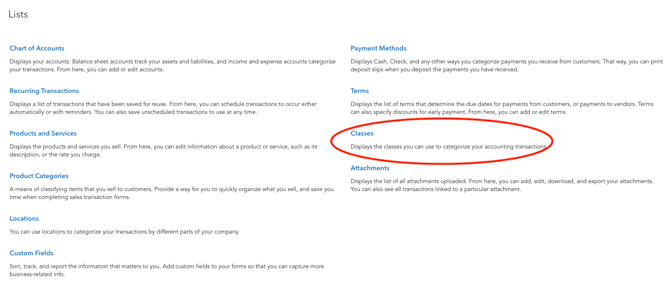
- Select "New" in the top right
Once you have added the necessary classes in QuickBooks, you can map them to your JobNimbus locations. This ensures that the correct class is automatically applied to invoices in QuickBooks when synced from JobNimbus.
If you are using classes in QuickBooks per line item on your invoices, this feature will not work. Only classes added to the overall invoice will be affected by this mapping.
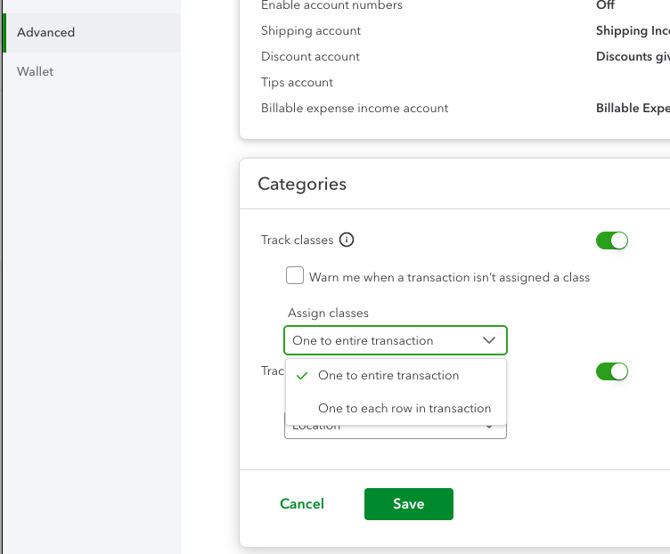
Map JobNimbus Locations for the Accounting Sync:
- Go to Settings in JobNimbus
- Select Accounting Sync on the left
- Toggle "Link Locations" on
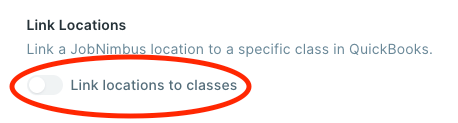
- Select the JobNimbus Location and the correlating Quickbooks Class
- Click the Update Settings button in the top right corner

You can add multiple lines by selecting the "Add Another" button, then repeat step 4 and 5 until all desired locations are mapped.