With Statuses, your job process is broken up into steps, such as Lead, Inspection, Signed Contract, and so on. Each of these steps is a status in the Workflow.
Adding and Editing Statuses
- Click on your Profile Icon or initials in the top right corner and select Settings from the dropdown menu.
- On the Setting menu on the left, scroll to the Workflows and Fields section, then select from Job Workflows, Contacts Workflows, or Work Order Workflows (depending on what type of workflow you are looking for).
- To add a Workflow, click the +Add Workflow button.
- To edit, select the three dots to the right of the workflow and select Edit.

-
Here, you can change the Stage to which a Status is assigned by choosing from the dropdown menu under the Stage column.
-
Add a new Status by clicking on the + Add Status button below the Workflow details and information section.

-
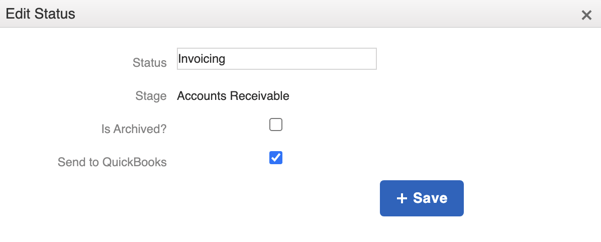
In the Edit Status window, name your status and assign it to a Stage.
Note: If you do not assign a Stage to your status, it can cause issues with your Insights reporting.
-
You can specify to send your Contact or Job information to QuickBooks by selecting the Send to QuickBooks checkbox. You can also Archive the record so it doesn't show up in your Contact or Job boards.
-
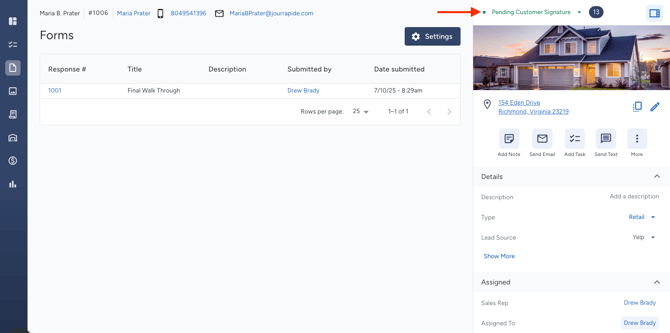
When a Job is moved into a Status, it can be seen in the record's details.