![JN_Logo_Long-White@1x.png]](https://support.jobnimbus.com/hs-fs/hubfs/JN_Logo_Long-White@1x.png?height=40&name=JN_Logo_Long-White@1x.png)
Connecting to QuickBooks Online
Note: Google Chrome is the recommended browser for using JobNimbus, including for the QuickBooks setup.
-
With the QuickBooks integration, you will not need to enter customers and other records manually into both systems. JobNimbus offers a two-way sync or a one-way sync to QuickBooks Online.
Supported QuickBooks Online Versions
-
Simple Start
-
Essentials
-
Plus
-
Advanced
- Enterprise Suite
Self-employed/Solopreneur is not supported.
Warning: Records will be created during the sync process. This cannot be undone. Disconnecting the sync after it is in place will not remove the records that were created by this process. We recommend using one of our integration specialists to help with this setup. Please reach out to our support team at support@jobnimbus.com to schedule a time.
Pre-Setup Steps
-
Be sure you have set up your workflows and understand their relationship to the QuickBooks sync: QuickBooks Workflow Setup.
-
“Sync to QuickBooks” should be turned off for all Contacts listed as vendors or they will be created in QuickBooks as a Customer.
-
-
If you have records already entered in both JobNimbus and QuickBooks:
-
Contacts and Jobs will look to link by display name. If the display names are not identical, duplicates will be created in both systems: Contact Display Name
-
Financial records will link by document number and amount and must be associated with the same Contact or Job in both systems.
- Products will link by product name. Costs and prices will update according to which system has been given priority in the QuickBooks sync settings.
-
-
When syncing from QuickBooks, all active Customers and Jobs from QuickBooks will be created in your JobNimbus. By making old records “Inactive” in QuickBooks, you can keep them from being created in JobNimbus. (Please note: records can always be made active again in QuickBooks if needed. They will then sync to JobNimbus.)
These fields will sync to QuickBooks: What fields sync to QuickBooks Online? Please note that Work Orders, Material Orders, and Vendors do not sync.
Setup Steps
In JobNimbus:
-
Go to Settings -> Accounting Sync
-
Select "Begin Connection"
-
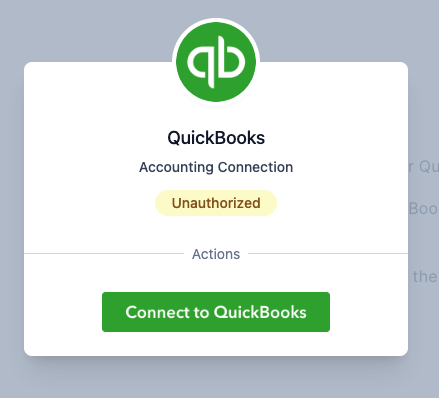
Click "Connect to QuickBooks"
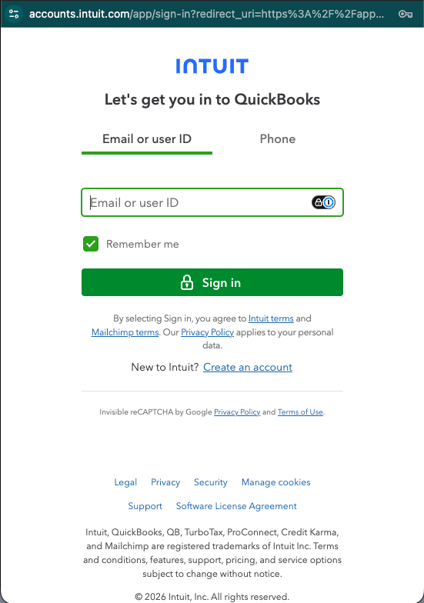
- A separate pop-up will appear; login to your QuickBooks account
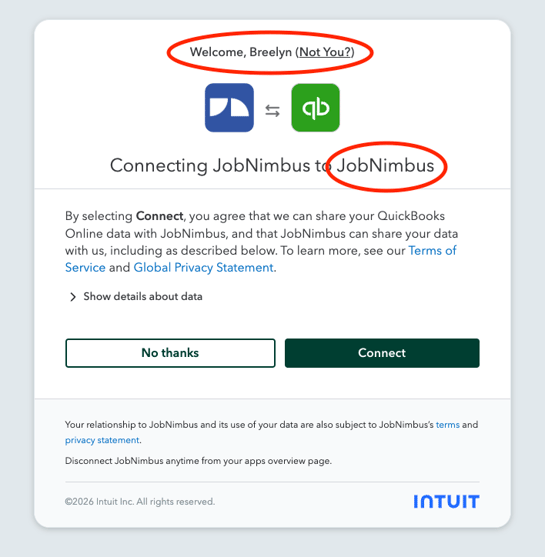
- Verify the name and company you will integrate your JobNimbus account with
-
Select "Connect"
-
Choose Sync Type
-
2-way: systems communicate back and forth
-
1-way: Import from QuickBooks to JobNimbus
-
1-way: Export from JobNimbus to QuickBooks
-
-
Choose Conflicts and Merging preference
- This will determine which system has priority to overwrite the other if records exist in both systems and will link, but don't contain identical information (i.e., phone numbers are different)
-
Select which "[record types]" you would like to sync. You do not need to choose them all, however, in order for invoices/estimates to sync, products and taxes need to sync (they will be checked automatically when you select estimates or invoices). All active records in QuickBooks (except estimates) will sync to JobNimbus on a two-way sync.
-
Select which type and status you would like all contacts and jobs coming from QuickBooks to be created under in JobNimbus. You can only choose a single type and status for each record type. Once the contact is created in JobNimbus, you can change it to any status you wish.
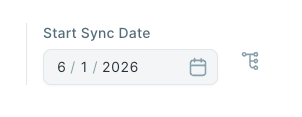
- Select the time constraint you wish for each record type. You can only choose one date for each record type, if you do not place a date, all historical data will be synced . Once the initial sync is run, this setting cannot be changed.
- To learn more about the "Link Locations" option, refer to this article.
-
When you select "Jobs," you will have the option to choose an "Address Sync." This allows you to choose if the job address goes to the bill to or ship to in QuickBooks. When you select "Ship to" you also have the option to select a checkbox if you want the parent contact's address to be placed in the bill to on that same job. 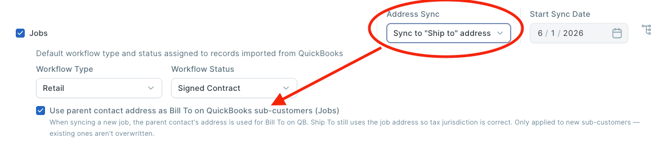
-
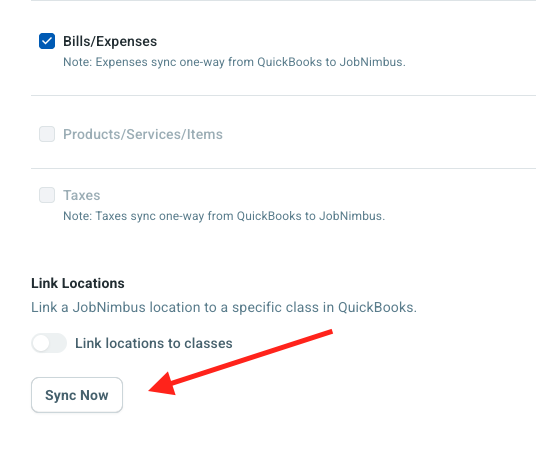
Click Sync Now at the bottom of the sync page
-
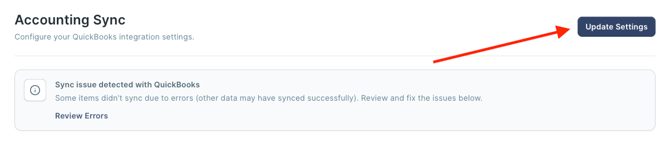
Once the sync is complete, the sync page will have an "Update Settings" button in the top right corner. This can be used to make changes to your sync settings in the future, if needed.
-
You may also get a box at the top of the page that states "Sync issues detected with QuickBooks". Click on Review Errors to view which records were unable to sync. This is a list of records that do not follow the rules they need to follow in order to sync. The error will list what needs to be corrected, and then the record will sync.

If you have multiple locations enabled in JobNimbus, all locations will sync to the one QuickBooks Online account. You will not be able to separate your different locations.
Ready to enable QuickBooks on your JobNimbus account? Log in to your JobNimbus account to try it out or sign up for a free trial if you are not already a JobNimbus customer.