On This Page
Creating a Job and Contact
- Select the + button on the top right of your JobNimbus page and select Add Job.
- This will open a new window and you will be prompted to either enter an existing Contact by typing their name and selecting it from the resulting list or create a new contact by entering their information.
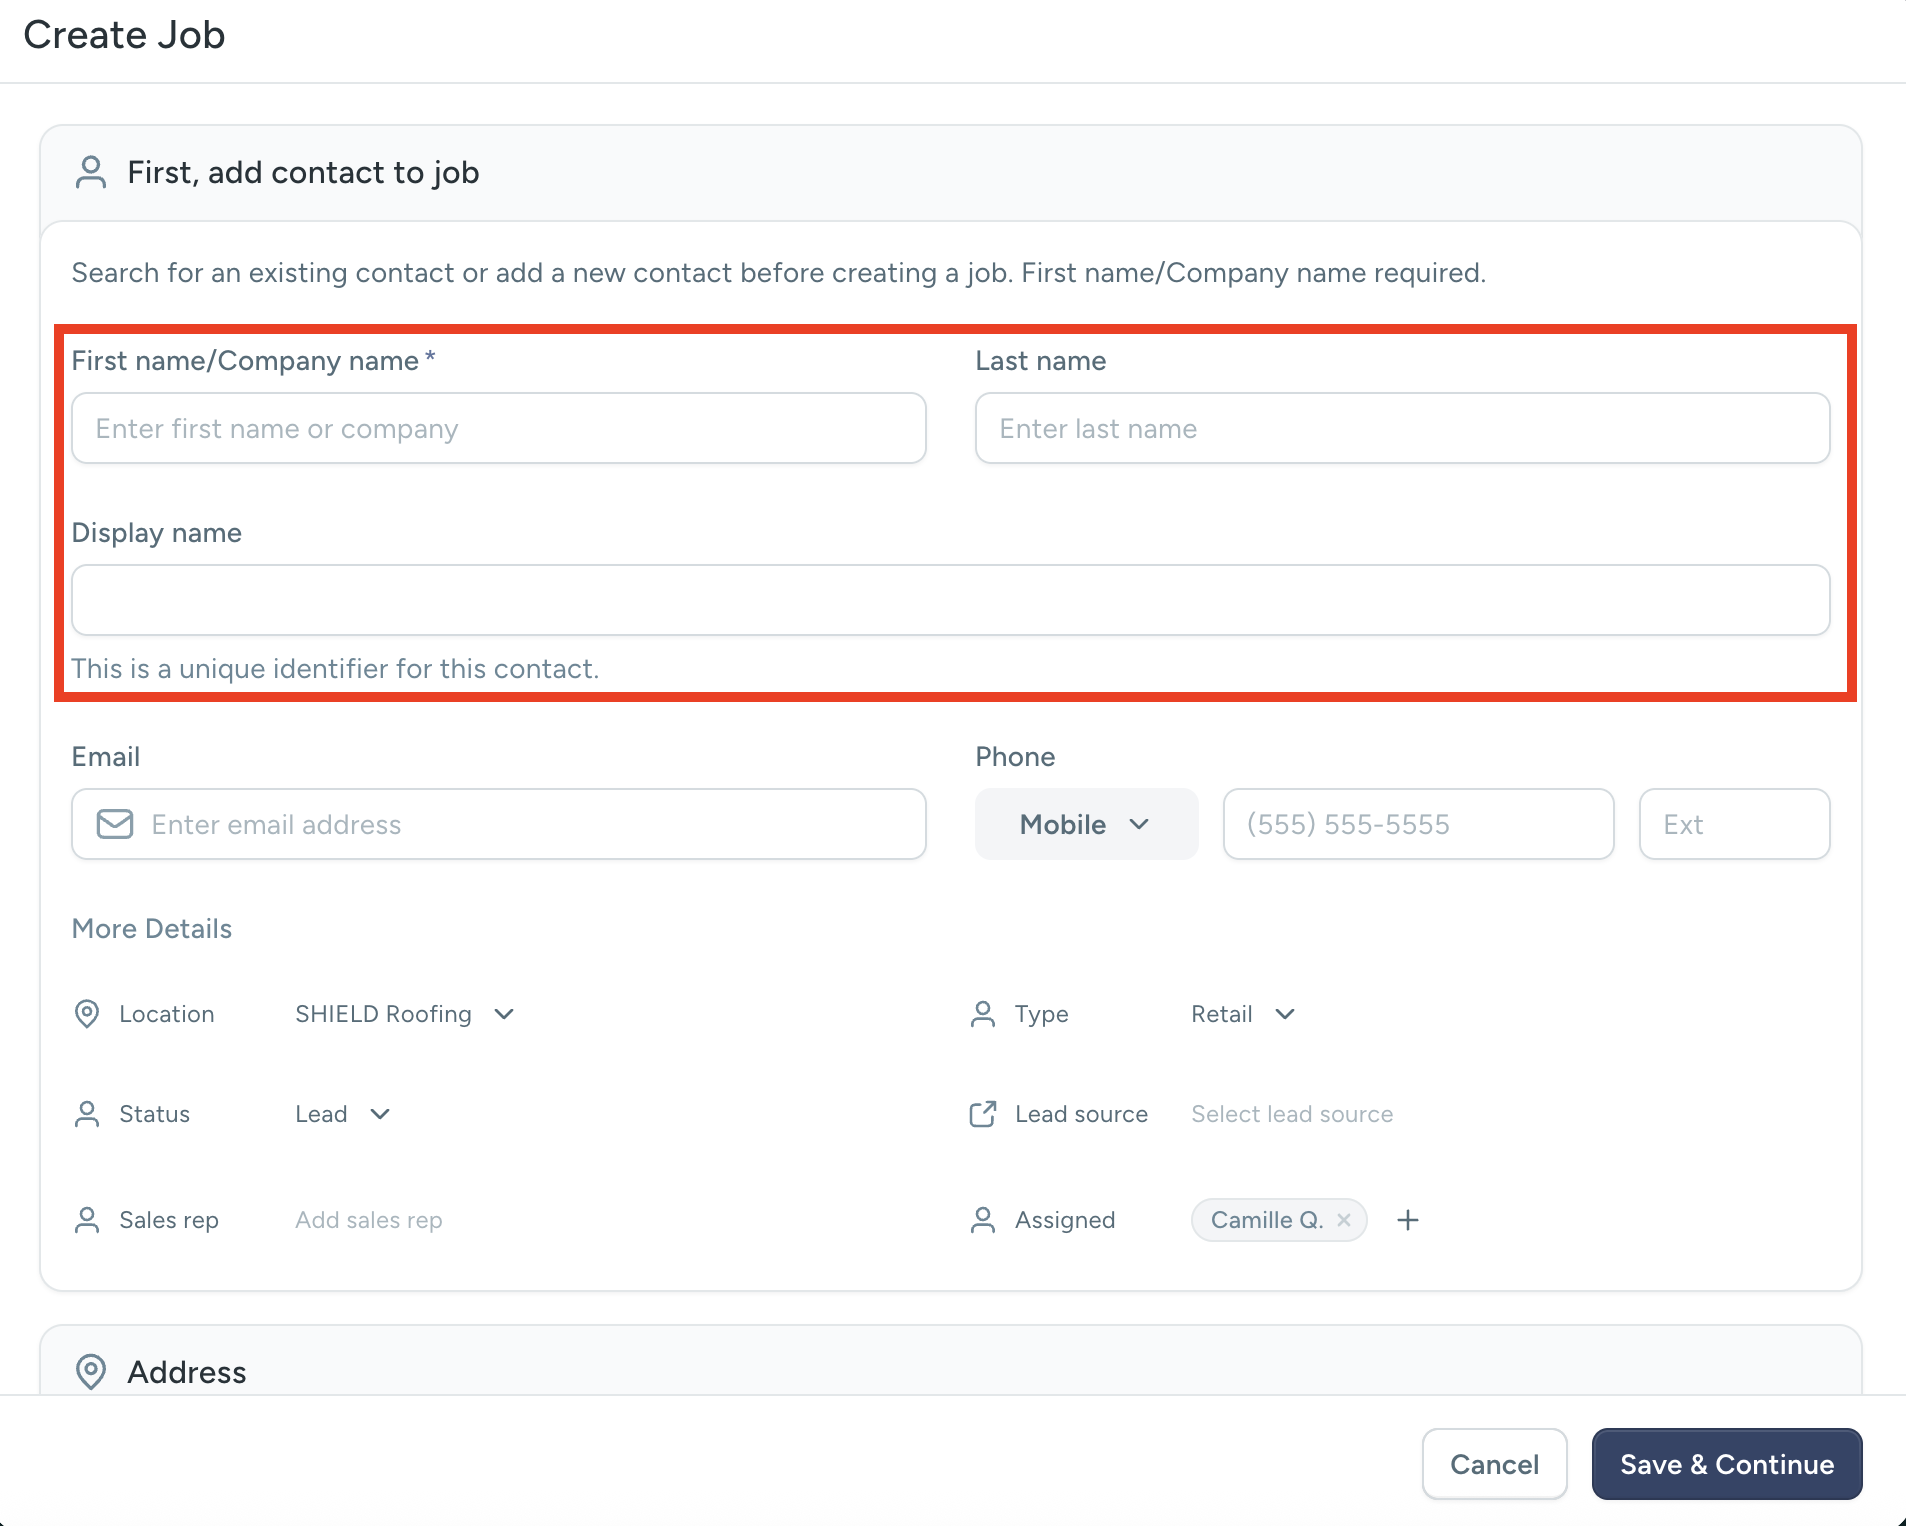
- If creating a new Contact, enter the necessary information into the Contact fields, and enter the Address in the Address section.
- Note: If you are entering a Canadian address, be sure to follow the steps listed here to enable Canadian addresses.
- If creating a new Contact, enter the necessary information into the Contact fields, and enter the Address in the Address section.
- Enter any information needed in any Custom Fields that may have been added.
- Select Save & Continue.
- Once you have added your Contact, enter the Job Name and Description, then select your desired Company Location, Job Type, Status, Lead Source, Sales Rep, and Assignee.
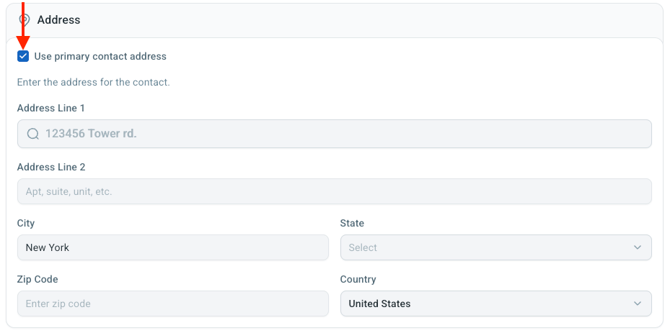
- In the Address section of the Job, you may keep the "Use primary contact address" box checked to autofill the address from the Contact you added in the previous window, or uncheck the box to manually enter a different Job address.
- If you have Custom Fields, enter the relevant information in the Custom Fields section.
- In the Other Info section, add a Start date and time, End date and time, or select the All Day option (if you have the Job Scheduling enabled). You may also add any Subcontractors and tags.
- You can also select Add Another Contact to add an additional Contact related to the Job.
- Once you have finished, select the blue Create Job button.
For iOS
Creating Contacts in iOS
- To add a Contact through the Mobile App, click on the + icon on the home page.
- Select the Contact option from the dropdown.
- This directs you to the following page where you can add your Contact's details.
- Here you can find information such as Contact Type, Status, Assignees, and Sales Reps.
- Once you are finished adding your Contact's information, tap Save.
Creating Jobs in iOS
- To add a Job through the Mobile App, click on the + icon on the home page.
- Select the Job option from the dropdown.
- This directs you to the following page where you can add your Job's details and associate it with a Contact.
- Here you can find information such as Job Type, Status, and Sales Reps.
- Once you are finished adding your Job's information, tap Save.
For Android
Creating Contacts in Android
- To add a Contact through the Mobile App, click on the + icon in the bottom right corner of the home page.
- On the resulting menu, choose Contact.
- This directs you to the following page where you can add your Contact's details.
- Scroll further down the page to reveal additional fields, such as Contact Type, Status, Assignees, and Sales Reps.
- Once you are finished adding your Contact's information, tap Save.
Creating Jobs in Android
- To add a Job through the Mobile App, click on the + icon in the bottom right corner of the home page.
- On the resulting menu, choose Job.
- This directs you to the following page where you can add your Job's details and associate it with a Contact.
- Scroll further down the page to reveal additional fields, such as Job Type, Status, Assignees, and Sales Reps.
- Once you are finished adding your Job's information, tap Save.