Notes:
- You must have an active account with both CompanyCam and JobNimbus in order to set up the integration.
- Integrations are not available on CompanyCam's "Basic" subscription. Upgrade your plan to take advantage this feature.
- You must have Admin privileges in both CompanyCam and JobNimbus.
- You must use an Admin email address in both CompanyCam and JobNimbus to set up the integration.
Enabling CompanyCam Within JobNimbus
Section 1
- Within your JobNimbus account, click on your profile icon or initials in the top right corner.
- Select Settings from the dropdown menu.
- From the Settings menu on the left, select Admin Settings, then open the Features tab.

- Under 3rd Party Features, scroll to CompanyCam and toggle the feature on.

- From the Settings menu on the left, select the Integrations tab, then select API.

- Select New API Key in the top right corner.
- Choose CompanyCam from the Description dropdown menu. Then, from the Access Profile dropdown select an access profile that has full access.

- Click the Save button.
- Copy the newly created API Key.

Enabling JobNimbus Within CompanyCam
Section 2
- Within your CompanyCam account, the Integrations tab under the Resources section in the left-hand menu.

- Within the Integrations page, paste the API Key you copied in step 7 of the section above into the field under the JobNimbus section.

- Enter the Admin email address into the top field.
- Note: The email entered here must have full permissions in CompanyCam and JobNimbus in order for the integration to work correctly.

- Note: The email entered here must have full permissions in CompanyCam and JobNimbus in order for the integration to work correctly.
- Choose whether you will sync your Contacts or Jobs. You can also choose to sync Jobs' Primary Contacts.
- Save the information by clicking Connect.

After you choose your sync, your 100 most recent Contacts or Jobs from JobNimbus will push into CompanyCam as Projects.
We're almost done - Just a few more steps!
Section 3
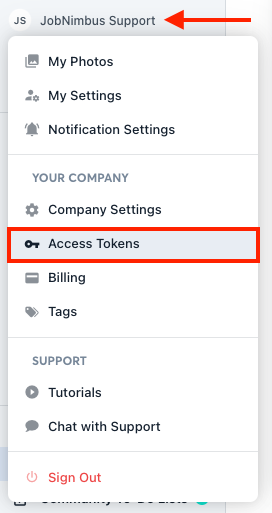
- Still within your CompanyCam account, click on your profile icon at the top left and select Access Tokens from the dropdown menu.
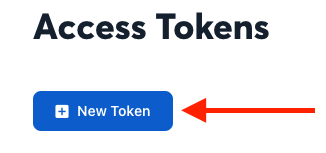
- Select the + New Token button.
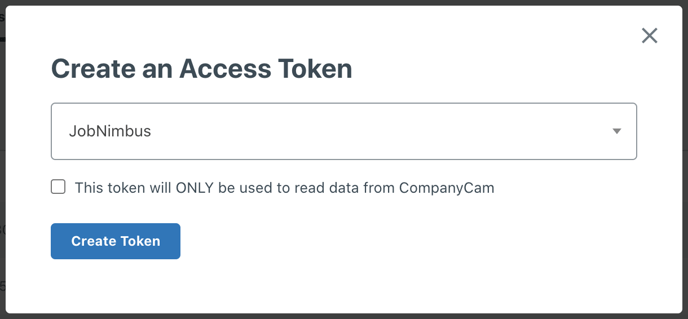
- Within the Create an Access Token window, choose JobNimbus from the dropdown provided.
- Warning: DO NOT check the optional settings box labeled "This token will ONLY be used to read data from CompanyCam". This will make the token Read-Only and it will not function correctly.
- Warning: DO NOT check the optional settings box labeled "This token will ONLY be used to read data from CompanyCam". This will make the token Read-Only and it will not function correctly.
- Select Create Token and then copy the generated characters.

Section 4
Back in your JobNimbus account Settings, click on Integrations, then navigate to the CompanyCam tab.
Once here:
-
Paste the token from CompanyCam into the CompanyCam API Token field.
-
Choose whether you will sync your Contacts or Jobs.
-
Be sure to make the same selection you made in step 4 of section 2 above.
-
-
Click Save.

If the integration setup was successful, you will see "Active" next to the Token Status, User Status, and Company Status fields within the CompanyCam tab of your JobNimbus Settings.