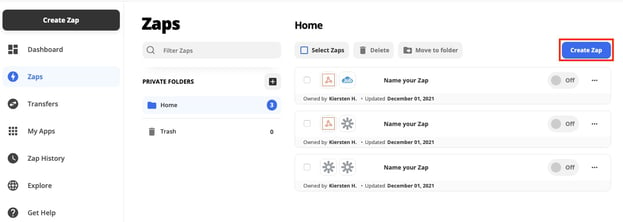
- Log into your Zapier account and click on the +Create Zap button
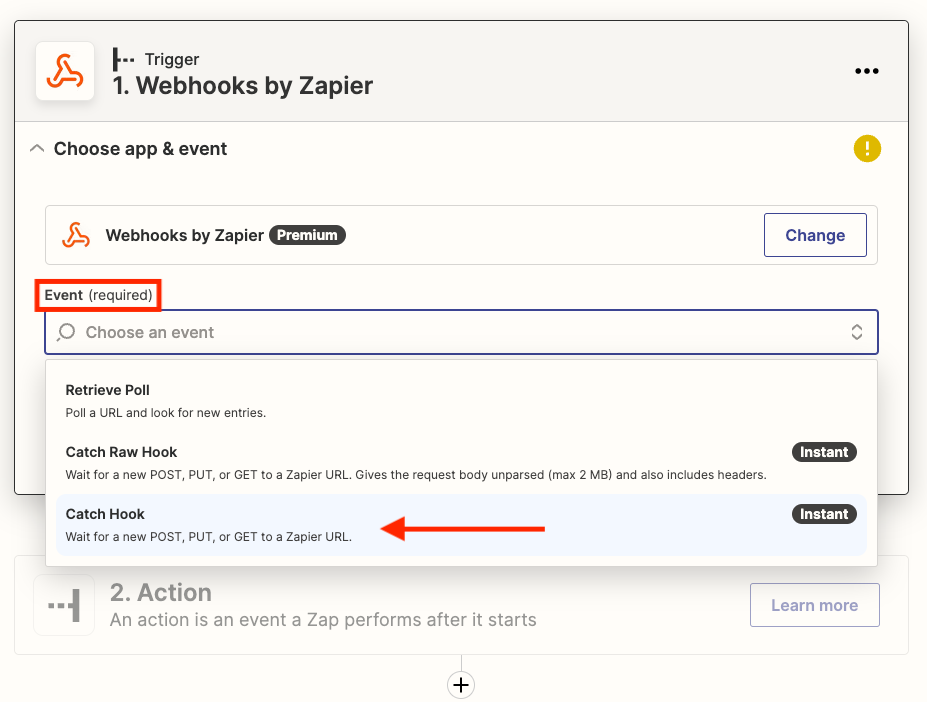
- From the Trigger window, select Webhook under the "Built-in tools" section on the right
- Note: be sure your Zapier Subscription includes this premium feature

- Click into the Event field and choose "Catch Hook" from the drop-down menu
- Select Continue when prompted
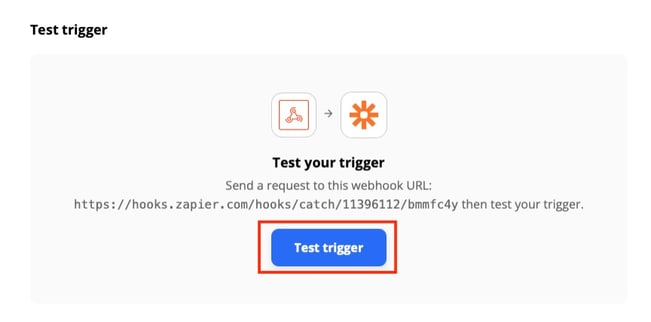
- This will generate your customer Webhook URL that can be tested by HomeAdvisor.
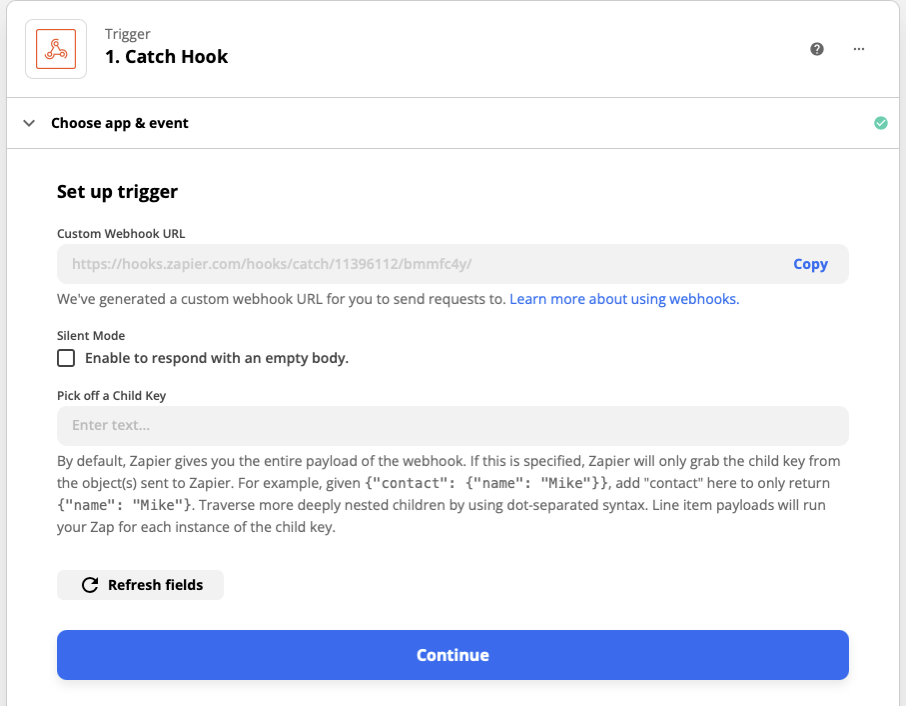
- Note: If you would only like to extrapolate certain
pieces of information from the lead, you can identify those fields
in the "Pick Off A Child Key" field. For the purpose of capturing
all information from the lead, you can keep this blank and the
the system will capture the entire lead as it is sent.
- Note: If you would only like to extrapolate certain
- Click Continue to move forward
-
Test the trigger by emailing jobnimbusleads@angi.com. You will need to include the following information in your email:
- Your customer Webhook URL
- Your HomeAdvisor unique ID number (if possible, for identification purposes)
- Your phone number (so HomeAdvisor can identify your account)
- Your email address (so HomeAdvisor can identify your account)
HomeAdvisor will need at least one of these 3 items to identify your account.
Note: You'll need to wait now until HomeAdvisor confirms your account with a return email. This might take up to 1 to 2 days.
Once your account is identified/confirmed, Angi will test the URL for verification
- After clicking Test Trigger, you should see the following, indicating
a successful connection between Angi Leads and Zapier. All the lead
data fields should be populating like below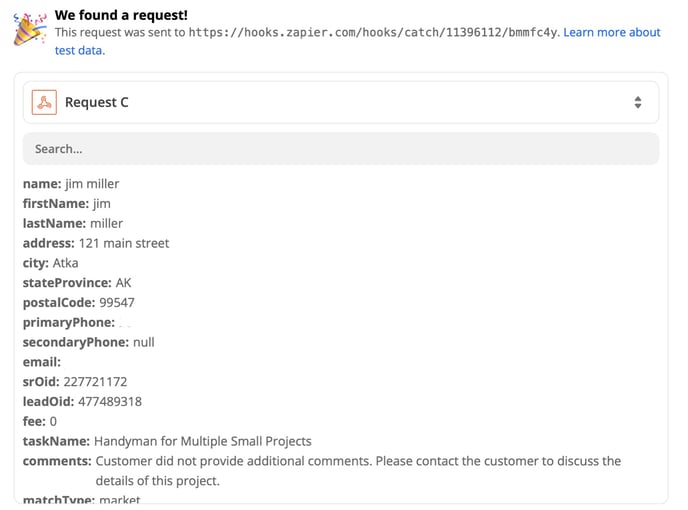
- Click on the Action field, then search for and select "JobNimbus"
- Click into the Event field and choose "Create Contact" from the drop-down
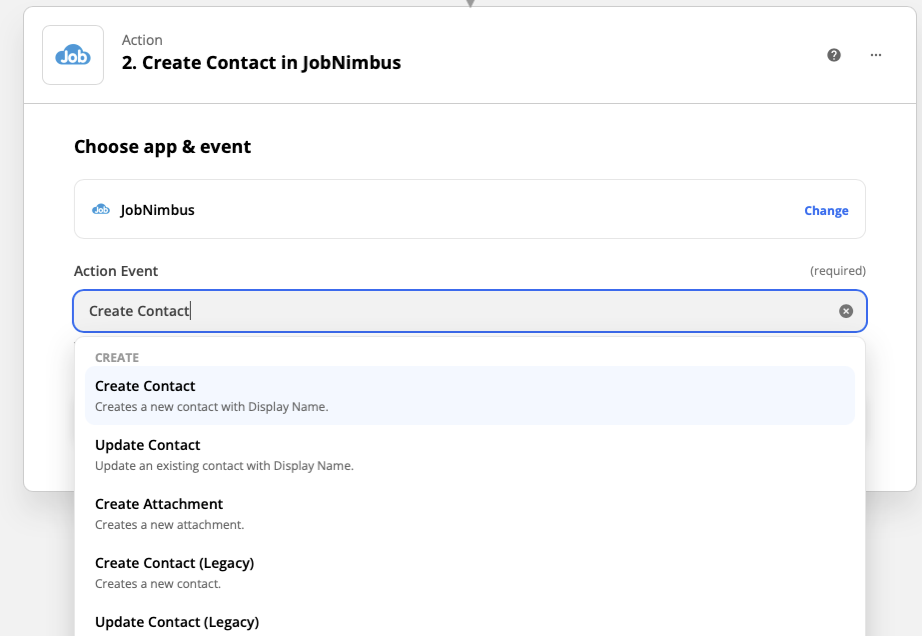
- Click Continue when prompted
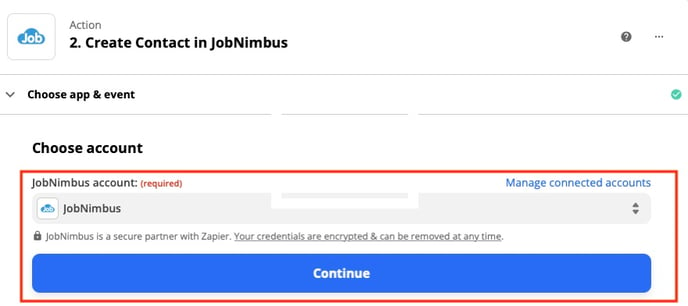
- Follow the steps to connect your JobNimbus account
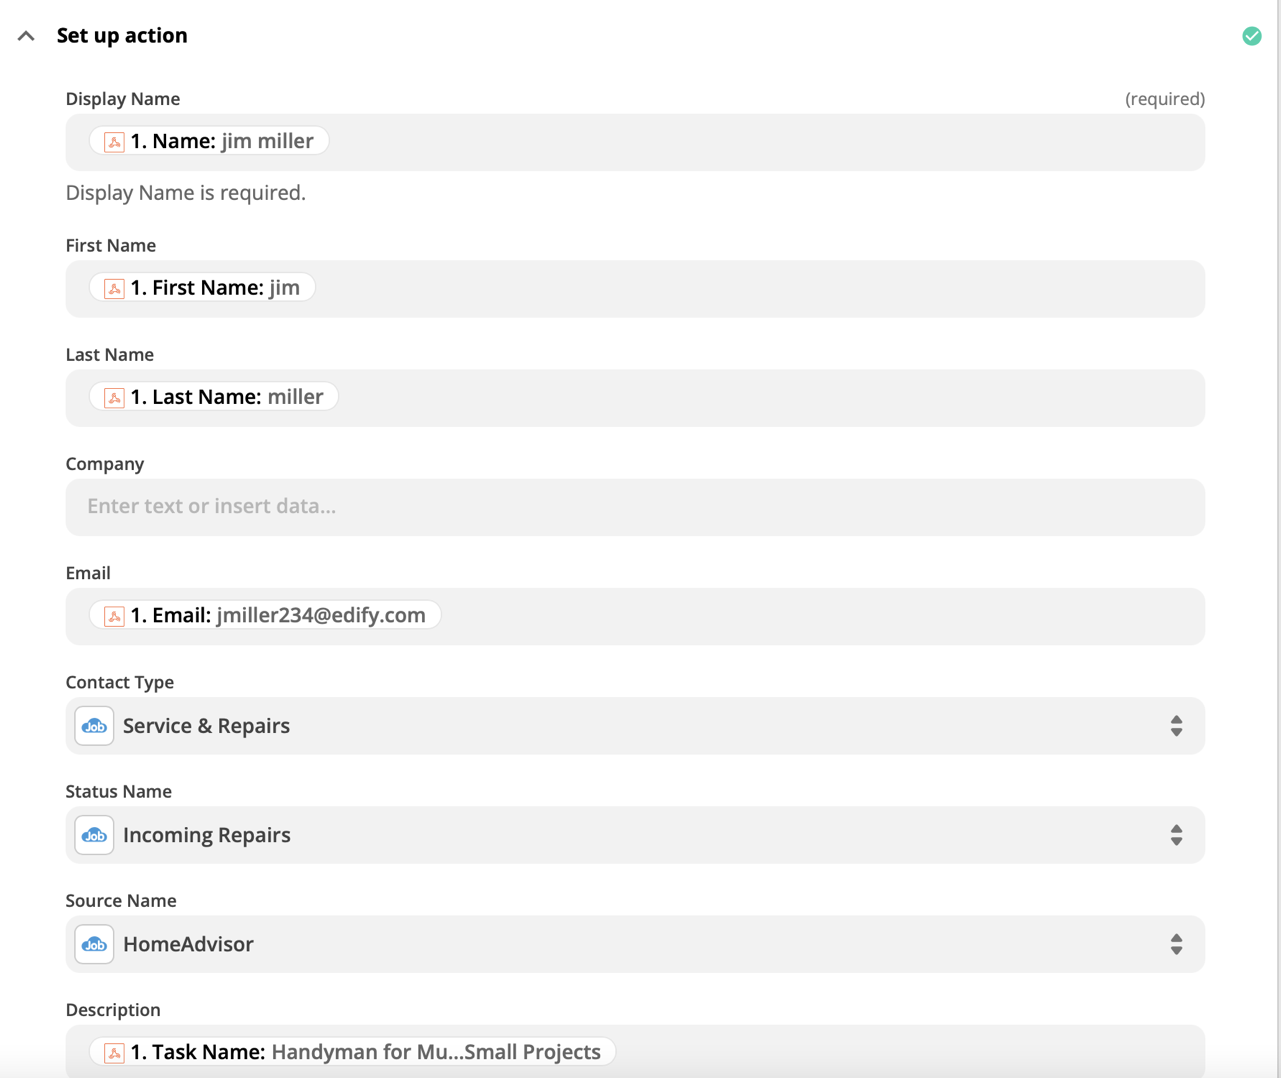
- Set up the action by mapping the Angi Lead data fields to the JobNimbus Contact data fields. If you click on the grey bar under each attribute, a drop-down list will show you all the Angi Lead data fields available for mapping.
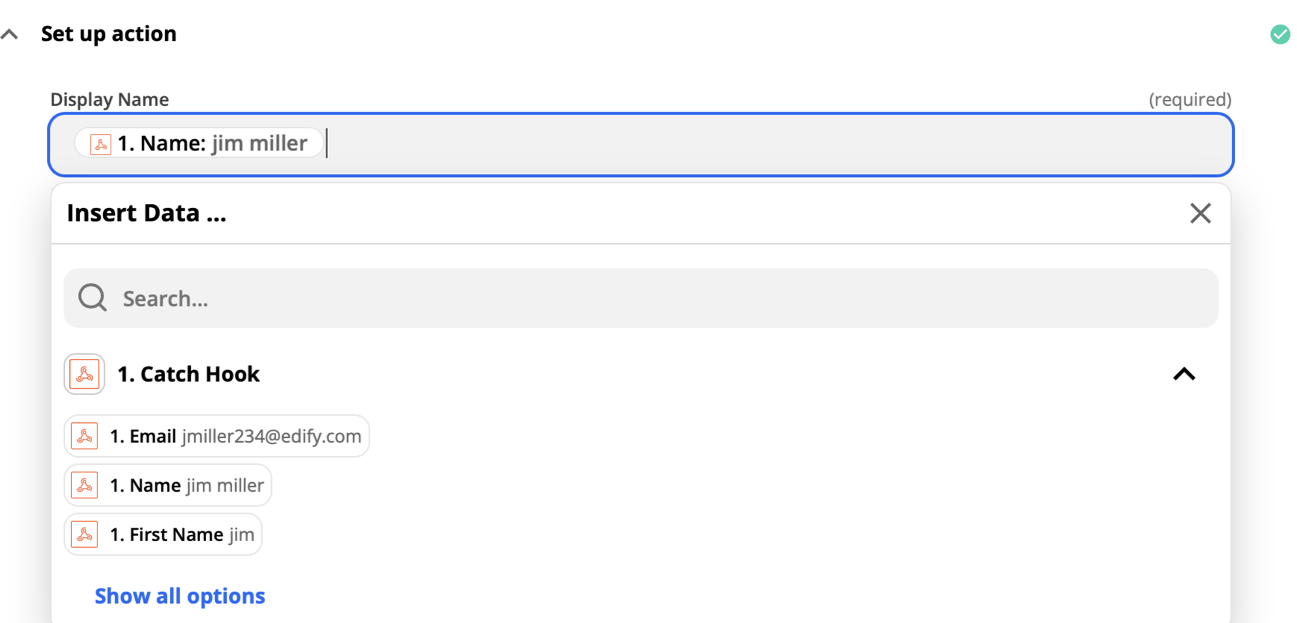
- Perform this for each of the desired fields.
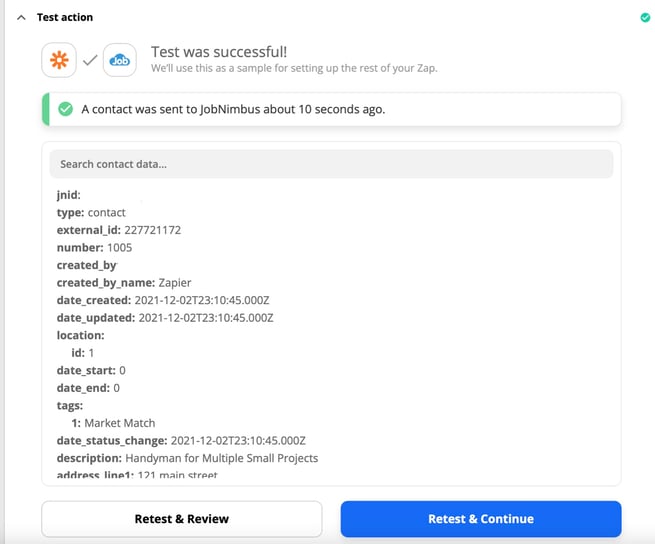
- Test the action and check that all the data flows through correctly.
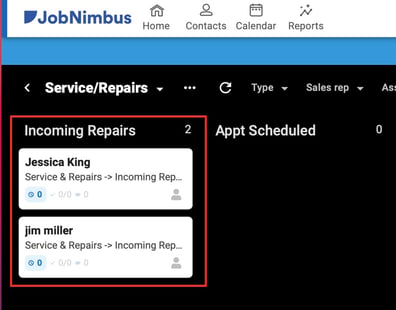
- Log into your JobNimbus CRM and check to see if the test lead arrived in the queue and if things are populating correctly in the contact card
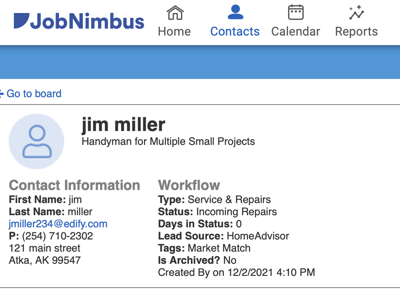
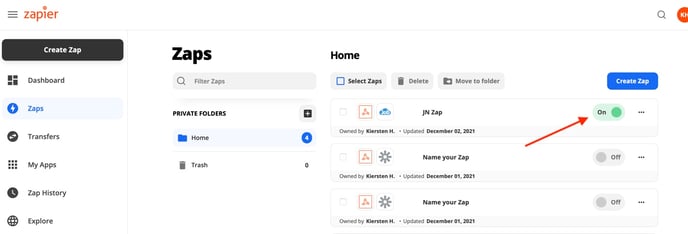
- Your Zap should be complete. Make sure to turn it on using the toggle to the right of the Zap on the home screen to make the integration live. Now the JobNimbus account should be receiving leads live as they are assigned to the pro.