To create a Work Order:
- Navigate to a Contact or Job page
- Open the Material & Work Orders tab on the left side menu.
- Click on the +Create button, and then select Work Order.

This will pull up the Work Order Builder.
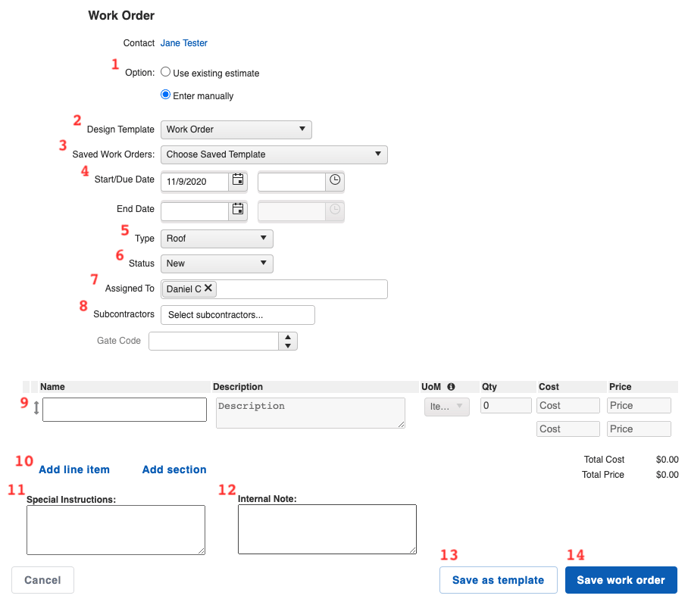
Here, you can:
- Choose whether to use an existing Estimate to fill in the details, or build it out manually. By choosing to use an existing Estimate, a drop-down menu will appear for you to select which Estimate under the Contact or Job to use.
- Choose a Design Template you have previously created in the Templates section of your Settings.
- Choose a Saved Work Order you have previously created and saved. From the drop-down menu, you can also "edit" or "delete" a Saved Work Order.
- Update the Start/Due and End dates for the Work Order. Once these are entered, the Work Order will appear on your Calendar.
- Change the Work Order Type. This Type corresponds with your Work Order Workflows. Learn how to configure Workflows here.
- Change the Status of the work order. The Statuses correspond to the way your Workflows are configured.
- Assign the Work Order to a team member.
- If you have the Subcontractors feature enabled, you can assign the Work Order to a Subcontractor you have added in JobNimbus.
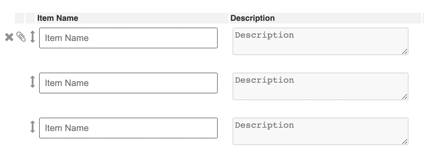
- Add line items. These line items are pulled from your Products & Services. If you have not yet added the line item in your Products & Services, you can click on "Add New Product", which will pull up a window to create and save the product in your Products & Services. While hovering over the line item, the options to delete that line item or add an image to the line item appear.
- Add another line item or a new section. Sections can help you separate your line items into specific groups.
- Add Special Instructions. These instructions will appear at the bottom of your Work Order under the Special Instructions title and are visible to the recipient.
- Add an Internal Note. This note will appear in the Work Order description when you view it in JobNimbus and is only visible to your team.
- Save your Work Order as a template. This will allow you to save the Work Order, with all of its line items and totals, to be used later. When creating a Saved Work Order Template, you will be prompted to give the template a name. Then, it will appear in the Saved Work Order drop-down for the next time you need to create the same document.
- Save your Work Order. This will take you to the document viewer, so you can see how it will look for your customers. It will also be saved under the Work Orders tab.
Do you work in multiple different trades? Check out this article to learn how Work Orders can help you keep your business organized.