- Help Center
- Learning & Training Resources
- New User Onboarding & Training
-
Learning & Training Resources
-
New Sales Experience
-
JobNimbus Payments
-
Boards
-
Engage
-
Contacts & Jobs
-
Mobile App
-
Automations
-
Calendar & Tasks
-
Reports
-
Dashboard
-
Financials
-
QuickBooks
-
Integrations
-
Settings
-
Roofer Marketers
-
Additional Resources
-
Events
-
Industry Resources
-
App Status
-
Suggestions
-
Troubleshooting
-
Using JobNimbus
-
Profit Tracker
Working With Jobs & Contacts
JobNimbus helps keep you organized through jobs and contacts.
As we go through these next few courses keep in mind that you will be working in your account, so make sure to pull it up so you can follow along.
Let's start by talking about contacts and jobs
JobNimbus is set up to work with how you do your business. You have customers with whom you work, and you have jobs you do for those customers. In JobNimbus, you can add multiple jobs to the same contact, for example, if we are doing gutters this month, we can add a job for that, and then next month add another for siding.
Your jobs will help you keep track of the progress of your projects and house all of the information for that job. You can think of the job’s file like a file you would pull from your filing cabinet.
There are different types of contacts that you may encounter in your account. JobNimbus can keep track of your suppliers, subcontractors, leads, and team members. All of these are contacts in your system. When using jobs, these contacts will be like your phone book. Think of them just like a contact list that you associate with your job.
You jobs will help you keep track of the progress of your project and your contacts will keep track of how you contact them.
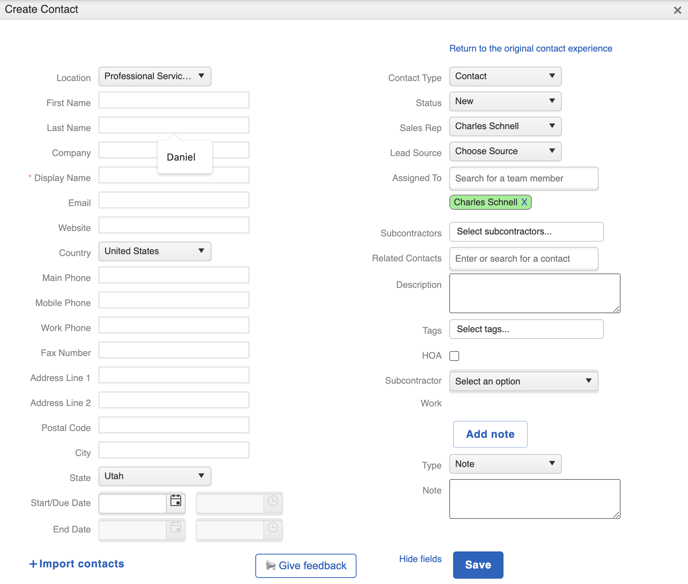
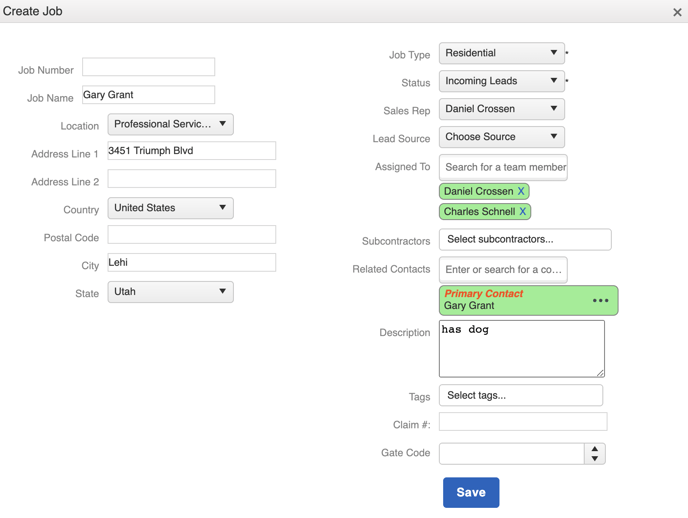
We are going to be working with a lead. You may already have some leads to work with, but let’s create a test contact for this training. Follow along and create your own as we build out our test contact, Gary Grant, and the job we create for him.
Adding a contact
Click on the + button in the navigation menu and select Add Contact.

Fill out your contact's information.
- Fill out your contact's name
- Type in an address, email address, and update custom fields

Save your contact.
Adding a job
Select Jobs from the file tabs and click Add Job.

Fill out your job details.
- Give your job a name
- Update custom fields
- Type more information in the description field

Save your job.
The job file
Look up your contacts and jobs using the search bar.
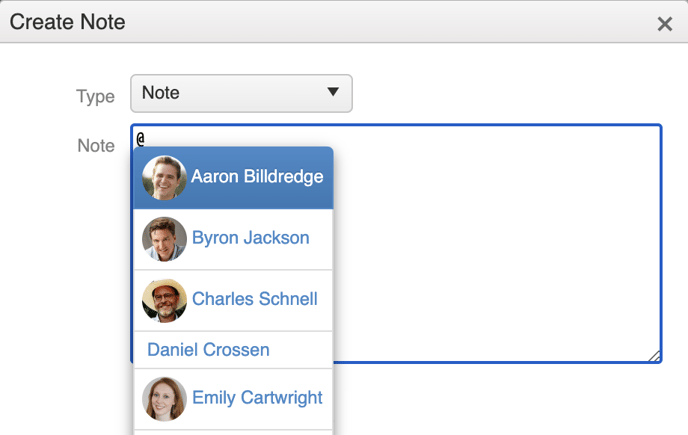
Add notes to your job file by clicking the Add note button.

Notify your teammates of a note using the @ symbol. You can choose a team member from the drop-down list.

Next, let's talk about how you'll work with your jobs on the board.
