You can send text messages using Zapier's integration with TextMagic.
TextMagic is a paid service offering you the ability to send text messages to your customers via Zapier automatically. You will need to first set up a TextMagic account if you have not already done so.
If you are unfamiliar with Zapier and its services or how to enable it in JobNimbus, please see the below:
Additionally, if you are unfamiliar with TextMagic's service offerings, please see their website:
Obtaining an API key from TextMagic:
- Log in to your TextMagic account
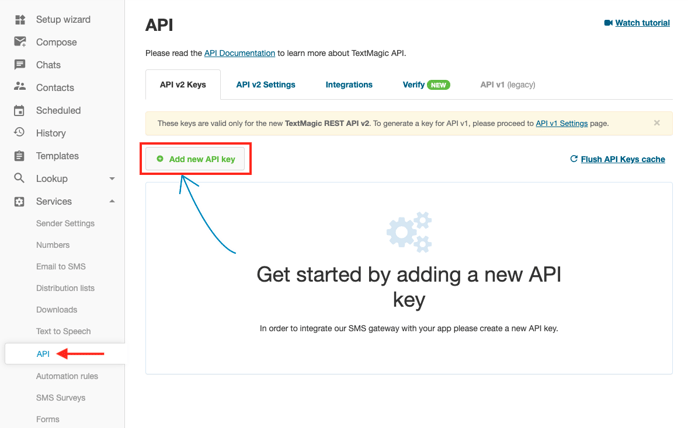
- Within the menu on the lefthand side, select the Services dropdown and open the API tab
- Click on the green Add new API key (found under the "API v2 Keys" tab)
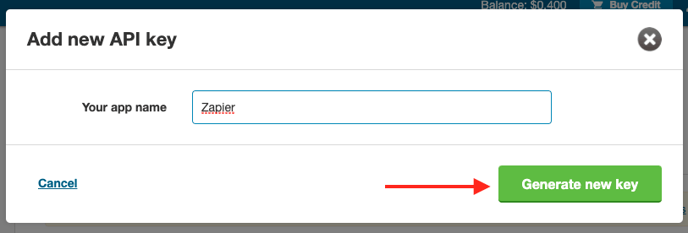
- Name the app "Zapier" and click Generate new key
- Copy the newly generated key once you are redirected back to the API tab overview
Connecting Your TextMagic Account to Zapier:
- Log in to a Zapier account that has already been connected to JobNimbus
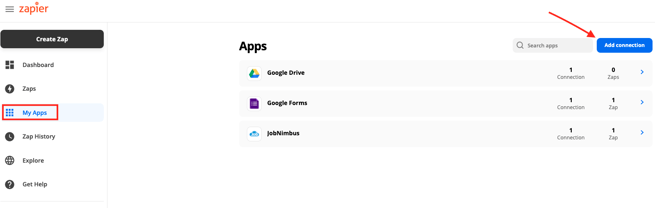
- Proceed to the My Apps tab of the lefthand menu
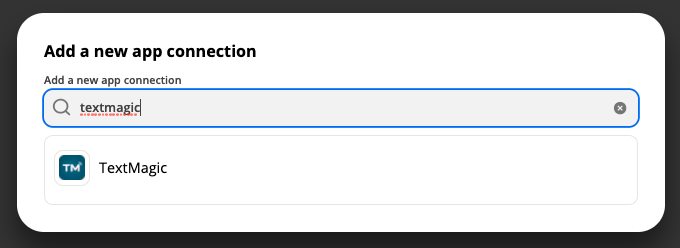
- Select Add connection
- Here, search for TextMagic and click on the result that populates
- Paste the API key that you created in TextMagic and input your TextMagic account username or email address. Click Yes, Continue.

Sample Zap: Sending a "welcome" text to a contact:
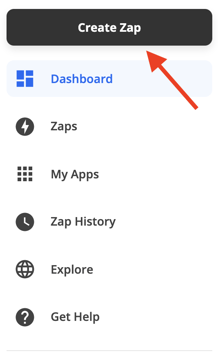
- In your Zapier account, click on the Create Zap button.
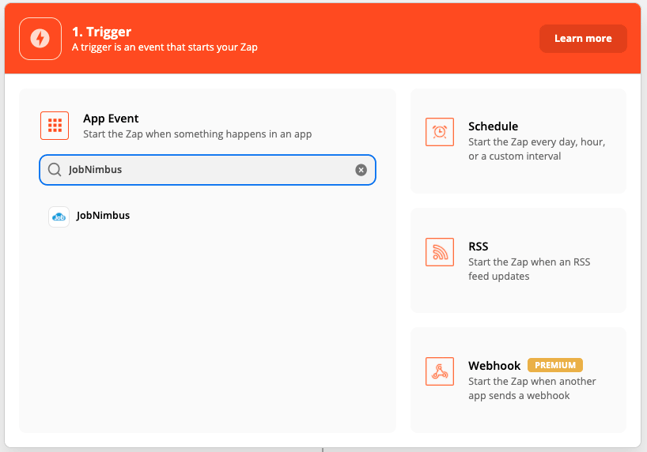
- Search for and select JobNimbus.
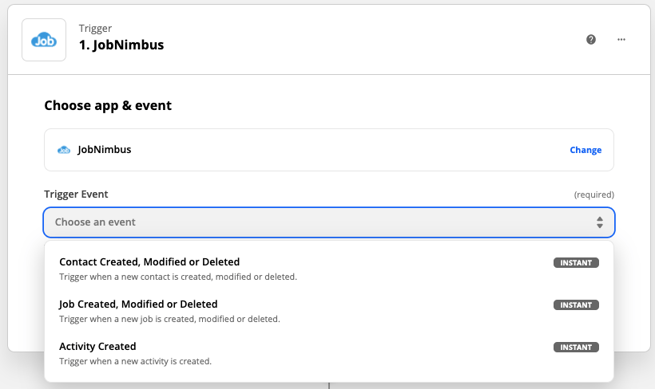
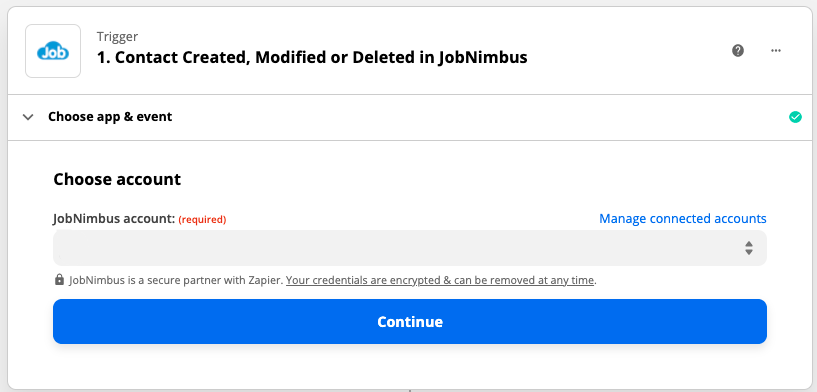
- Once here, select Contact Created, Modified or Deleted as the Trigger Event, and then click Continue.
- Select the desired JobNimbus account and then click Continue.
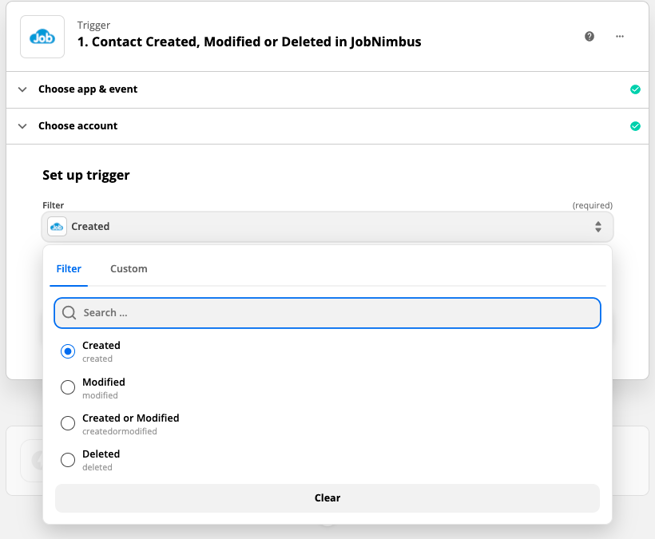
- Choose the Created filter and then select Continue.
- Test the trigger. Once it is successful, select Continue.
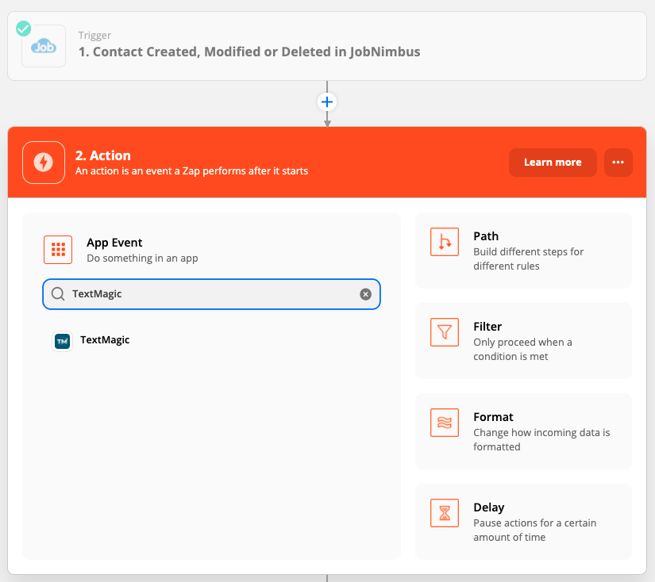
- On the Action step, search for and select TextMagic
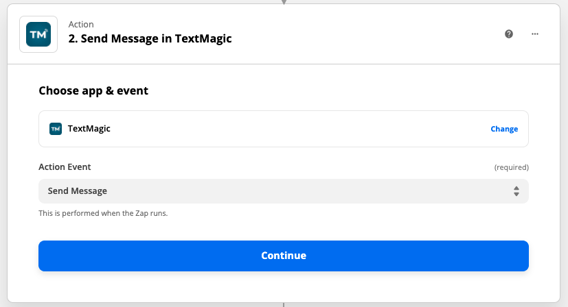
- Once here, select Send Message from the "Action Event" dropdown menu, and then click Continue.
- Select the desired TextMagic account and then click Continue

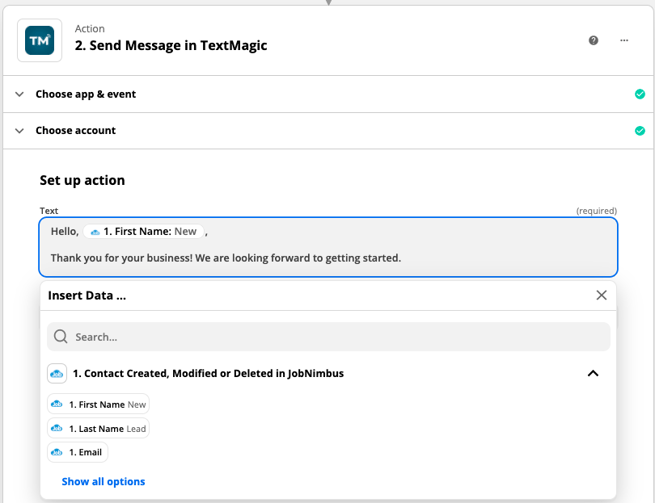
- When drafting up your message, you can use a combination of plain text and generated fields from JobNimbus to set up your text message template by filling out the "Text" field.
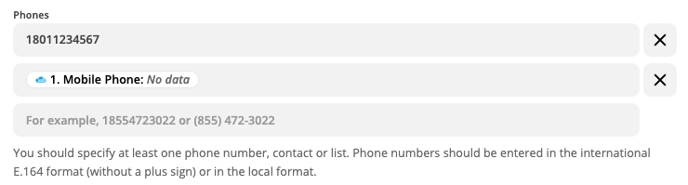
- Within the Phones field, select "1. Mobile Phone" from the dropdown menu to pull the mobile phone number of the triggering Contact from JobNimbus. You can also manually input the number in the format that Zapier specifies.
- Optionally, fill out any remaining fields and then, select Continue.
- Click Test and Continue to move forward
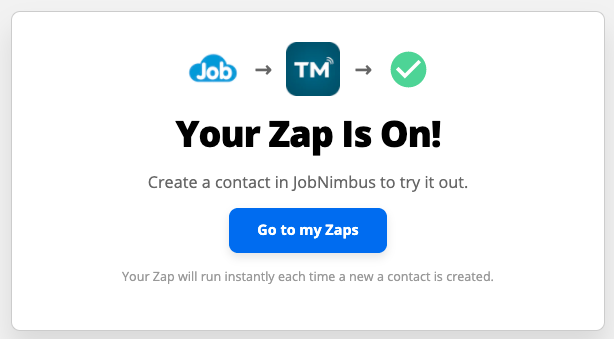
- Select Turn on Zap whenever you're ready
Congratulations! Now, whenever a new Contact is created in JobNimbus, depending on the conditions you set up in the above steps, a text message will send out to the recipient(s) of your choice.